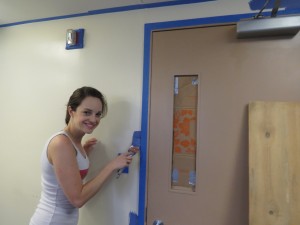
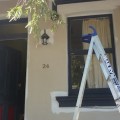
This past week I had a great week painting the new Wellness Library. I had help from my lovely friend Joanna, and a resident who asked if he could help out which was awesome! I painted our entire house back home in Australia – inside and out. So to save you some time and trouble, here are the steps I follow to paint the perfect wall!
1. Fill a bucket with water and detergent and wipe over the walls with a damp sponge. This removes any dust that may give your paint an uneven finish.
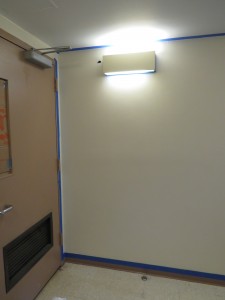
2. Use Paint Tape to cover the edges of any surfaces that you don’t want to paint – the roof, light fittings, architraves and power points. I find 30cm strips are the best length, any longer and it’s difficult to keep the edge straight. (Don’t go cheapo! Invest in proper paint tape, masking tape rips along the way and is difficult to remove).
3. Paint the parts of the wall that the roller brush can’t access – this includes the edges of your wall. Extend the paint out onto the wall by about 3 inches. Use a 2-inch angled brush to paint along the edge of taped areas.
4. Stir your paint so you have an even colour. Pour paint into the deep end of your tray – about an inch deep. Use your paintbrush to remove any paint that gets stuck in the groove of your tin, otherwise it will dry solid and you won’t be able to close the lid. Carefully dip your roller into the paint in your tray and roll off any excess on the grooved section of your tray.
5. Paint! The best way to get even coverage on your wall is to start in the top corner of your wall. Roll down on an angle, then roll directly up. Continue this way across your wall until it is completely covered.
6. You will most likely need two coats of paint. Look at your paint can to determine how long you need to leave your first coat to dry. I only had to wait two hours.
7. Tear off the tape as soon as you have finished your second coat so it doesn’t bleed through.
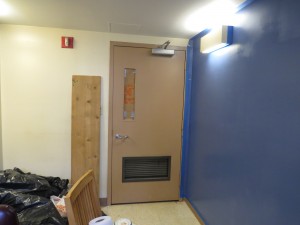
And…. VOILA!
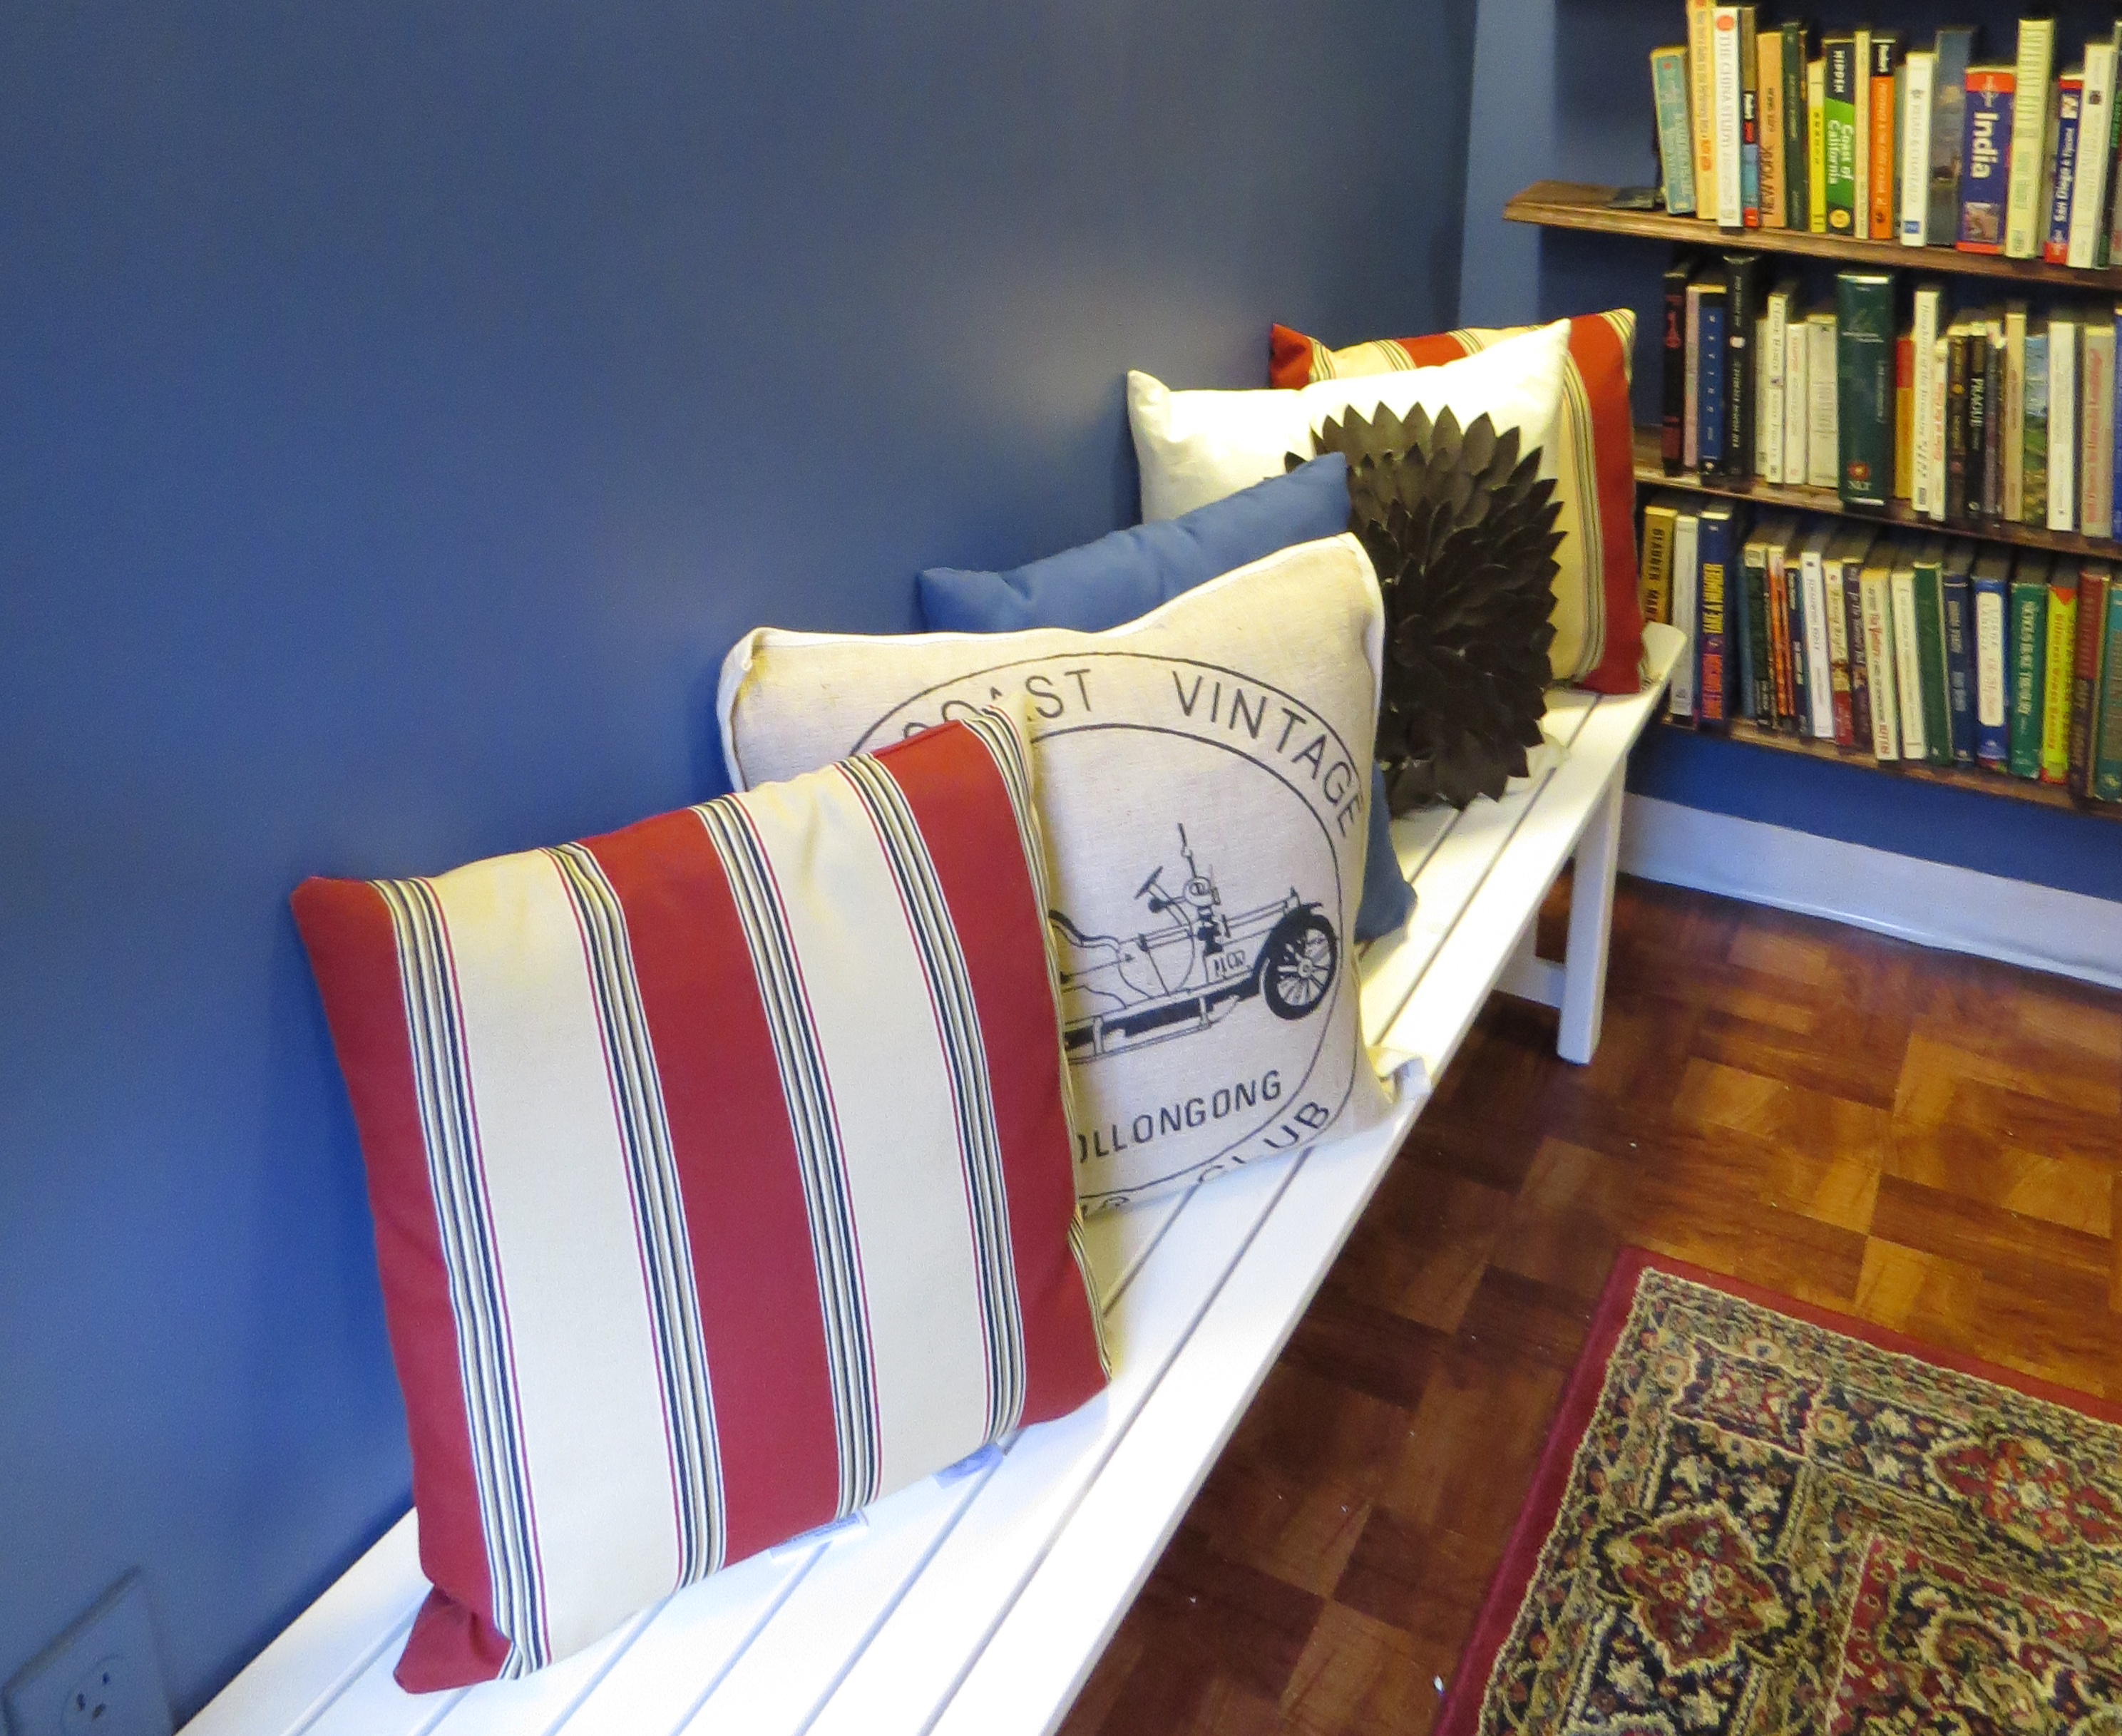
I am thrilled with the result and think the colour looks fabulous!
– Penny xo
