In July 2010 my hubby and I bought a house in the Sydney suburb of Rozelle. It was over 100 years old… and boy did it look it! Our semi-detached house was a classic ‘fixer-upper’ and was barely livable. First step was to renovate an OLD kitchen!
We knew we were going to be moving to New York in nine months time, so we spent that time preparing the house for renters. It was a huge job, but one that we both enjoyed.
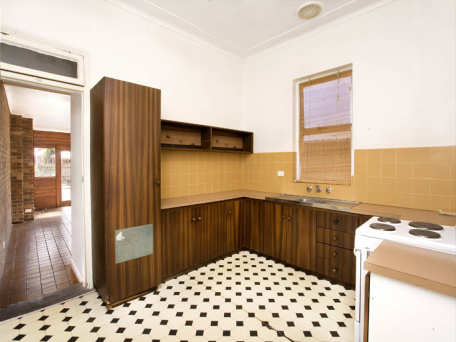
The first room that had to be addressed was the kitchen. It was a 1970’s kitchen made entirely of masonite. Masonite is a type of board that is made up of compressed wood fibres.
The kitchen had not been cleaned properly in at least a decade, so I got to work! Sugar Soap (or TSP if you live in the USA) is the best product to use for heavy duty cleaning like this. It comes in a concentrate form (either powder or liquid) and needs to be diluted with warm water.
I proceeded to scrub every surface with a sponge – including the walls, floor, roof and cupboards (inside and out). The cleaning took me approximately 36 hours! Seriously.
Next steps:
– I removed all cupboard/drawer handles using an electric drill.
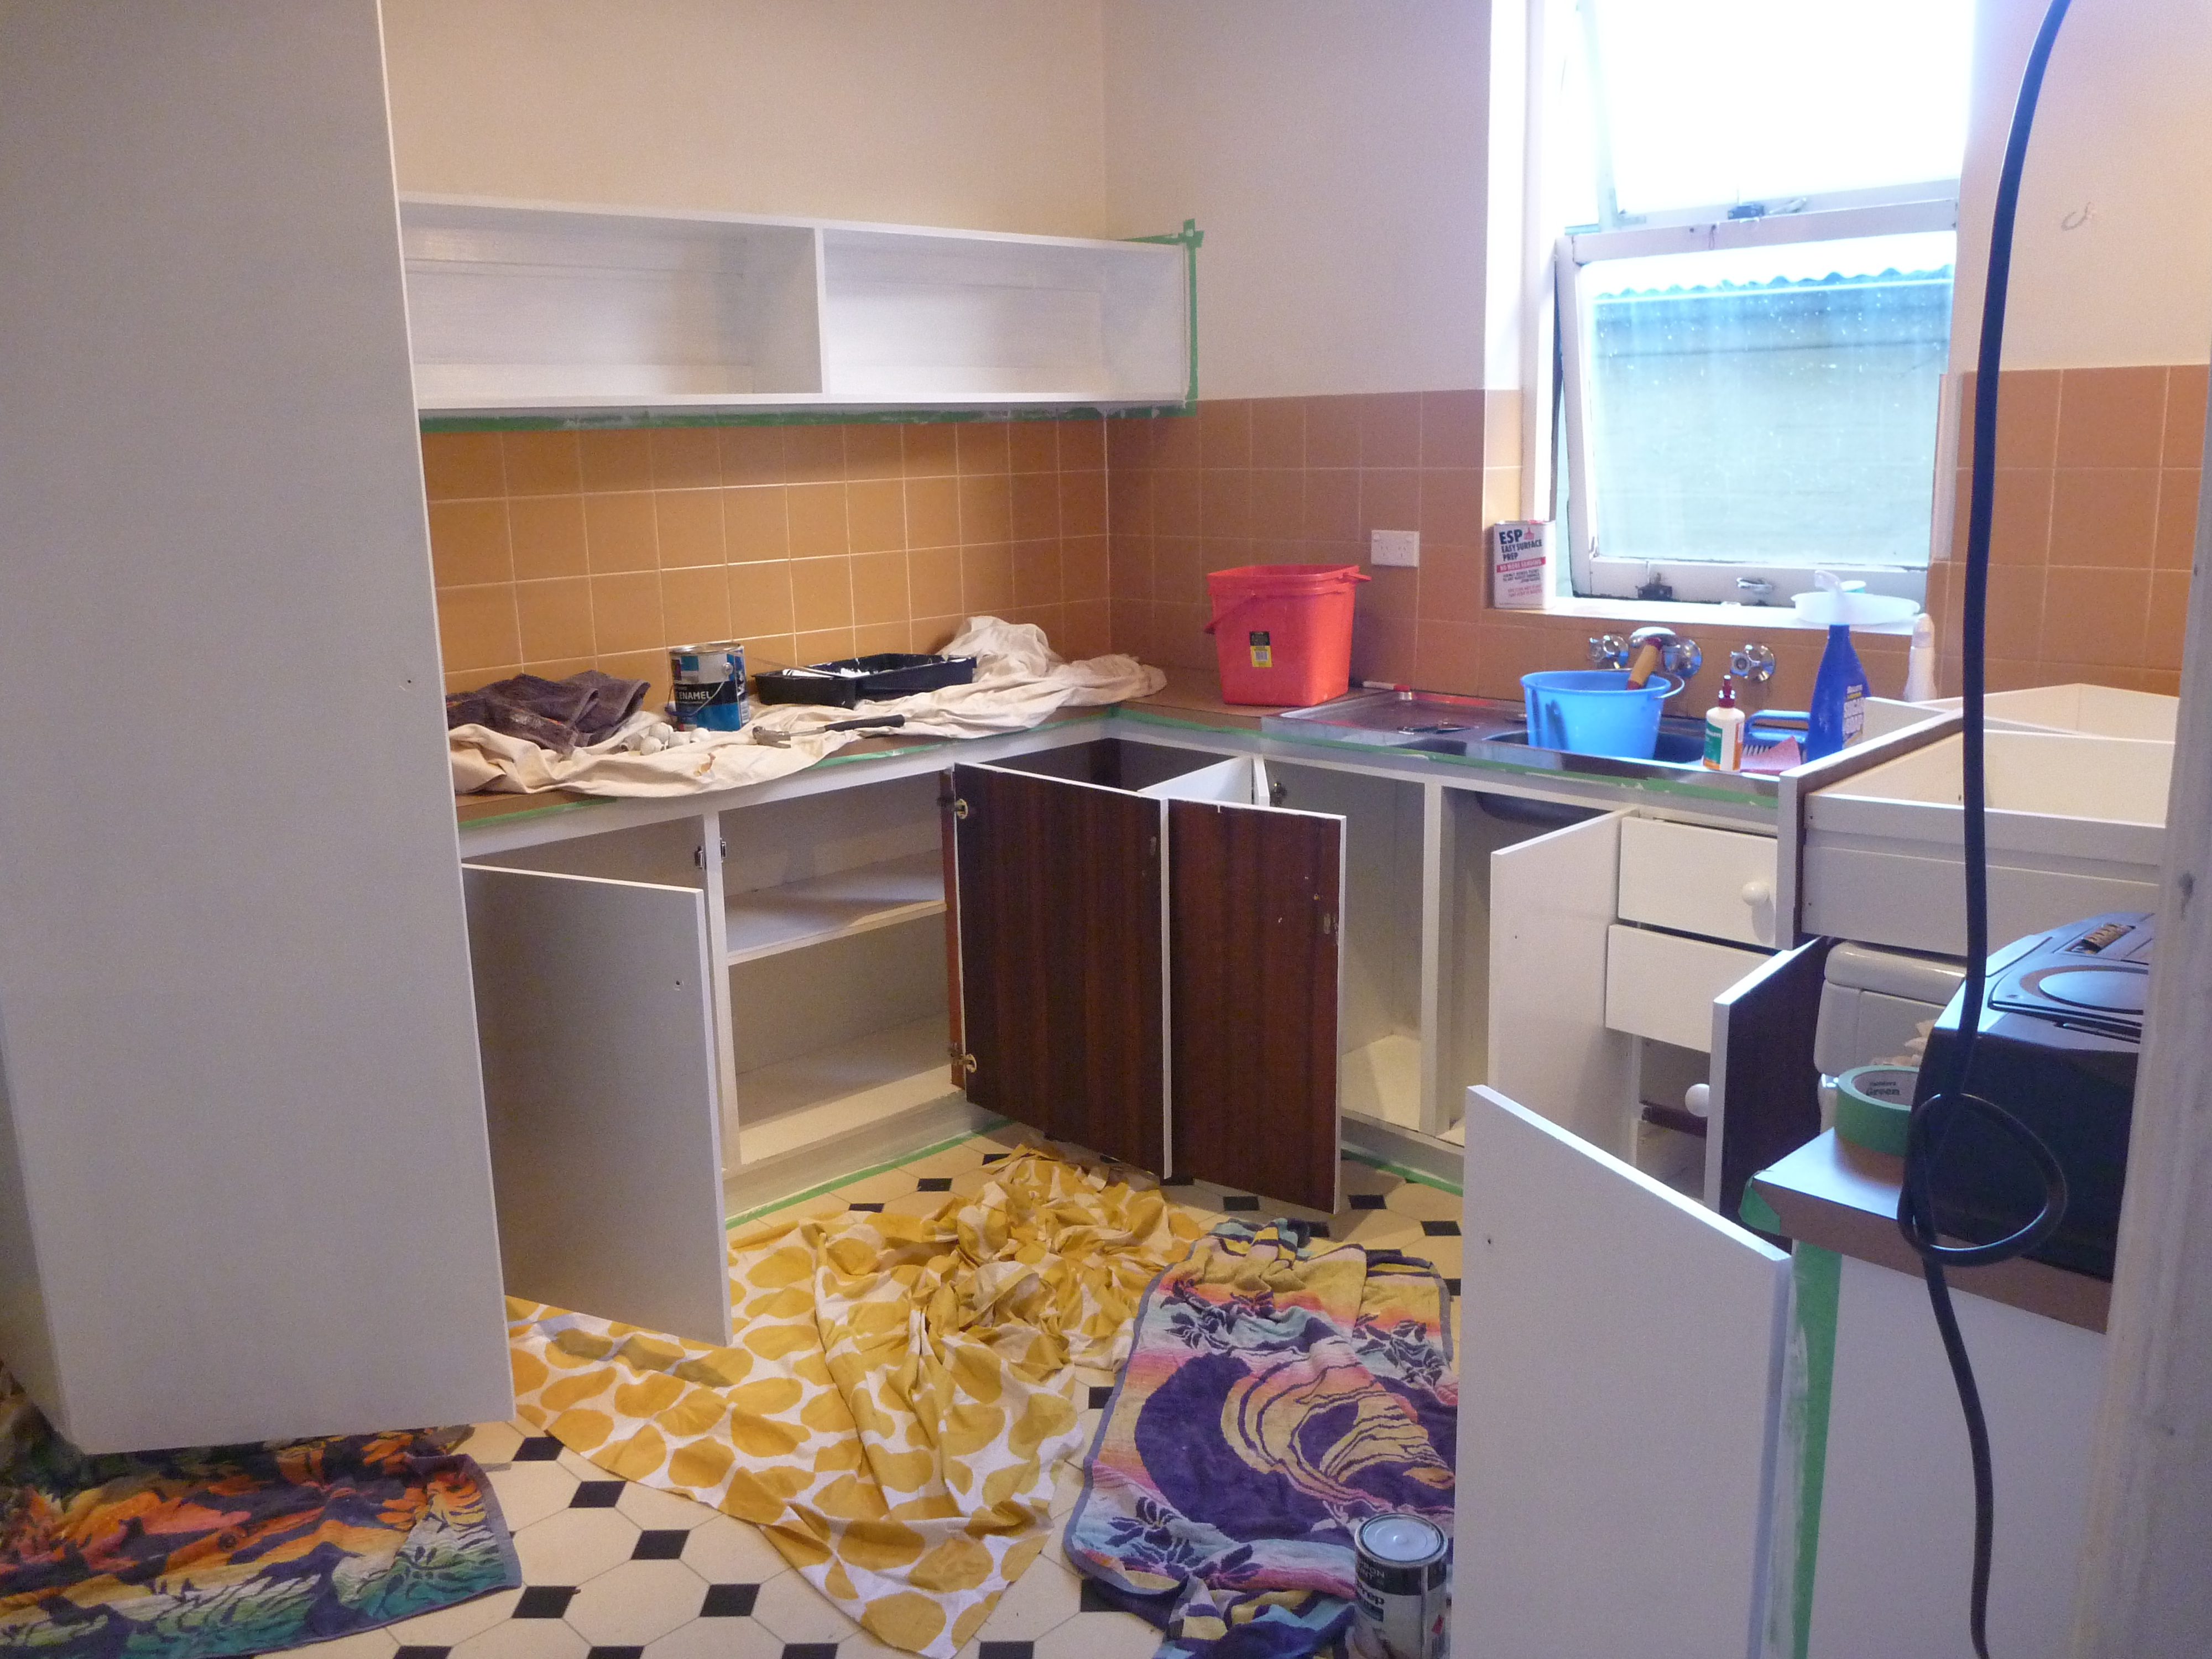
– Using several rolls of Painting Tape, I lined the edges of the walls and floors where they attached to the cupboards… saved me painting the wrong surface. NOTE: Do not use masking tape – it is very difficult to rip in a straight line and even more difficult to rip off when you are finished.
– Since I was painting masonite cupboards, I needed to use a primer first. Primer seals the masonite so the paint won’t seep straight into the wood. Typically primer is oil-based, so do don’t even attempt to wash out your brush/roller afterwards, it will be a great waste of time and energy – just throw it out!
– Before painting, I spread old curtains and sheets on the floor to avoid spills and paint footprints. You can buy plastic drop-sheets from hardware stores (in case you don’t want to ruin your 600-thread-count Sheridan sheets).
– After allowing my one coat of primer to dry, I painted two coats of high-gloss, water-based, white paint. I found it useful to use a paintbrush for the edges and a small roller-brush for the front of the cupboards. The roller-brush left a smooth and even coverage.
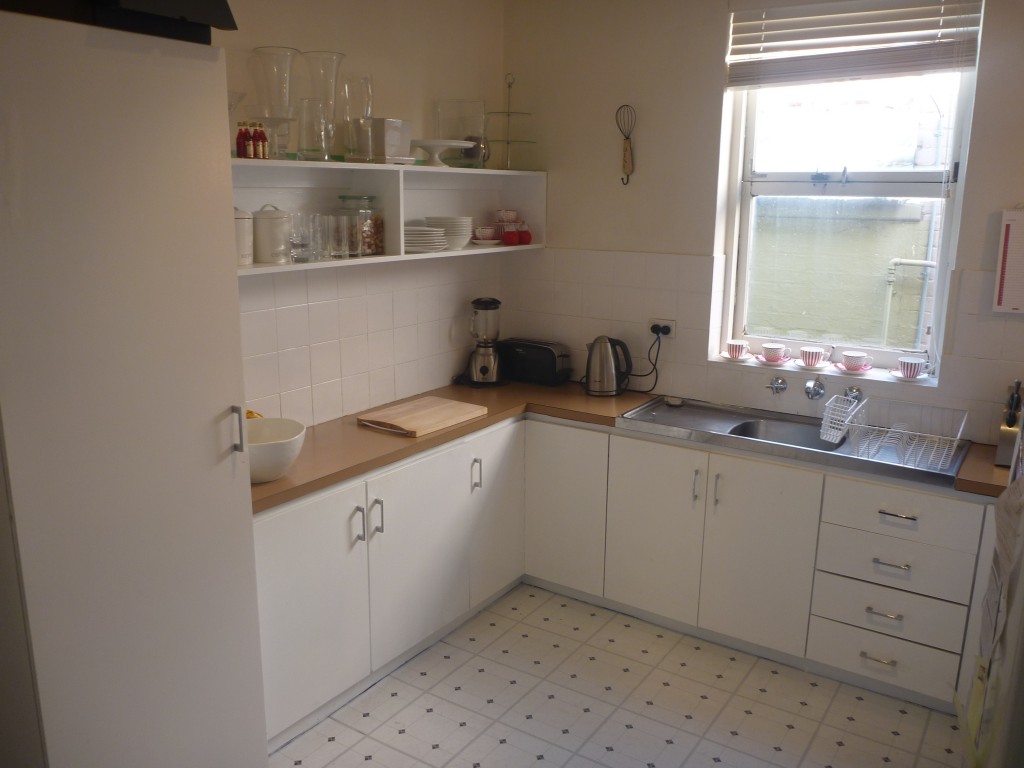
– I then took a trip to Bunnings and found some modern, sleek-lined handles which I attached using an electric drill.
- A brand-spankin new kitchen on a budget!
We managed to update the entire kitchen for under $500! It just goes to show how a small budget can garner great results with the help of some elbow grease. Although this is not exactly my dream kitchen, it was a cheap and cheerful investment which helped in renting out our property.
Give it a go! It can’t get worse… ?
– Penny xo


